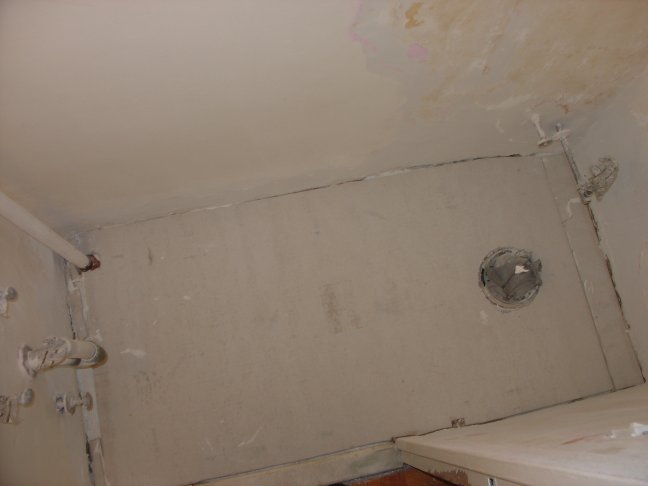
The standard 3’x5’ Hardibacker board was roughly the right size to provide a tile substrate for the entire half-bath. Of course, the room turned out to be trapezoidal, with the difference in width approaching a full 2” from one end to the other. I spent the better part of an evening sawing a scraping the board into just the right shape. The sites I encountered mentioned doing this with a matte knife, but that was painfully slow. It turns out there are dedicated tools for cutting cement backer board. (Not having those tools, I went from matte knife to hacksaw to drill.)
The backer board usually goes down over a plywood subfloor, or at least that was what I found to be best documented. I needed the backer board to adhere to the uneven concrete surface underneath, so I borrowed what I could from the plywood installation (the layer of mortar) and discarded what I couldn’t (the screws). Once I dry-fit the board pieces, I spread the mortar with a notched trowel and gingerly put the board back into place.
