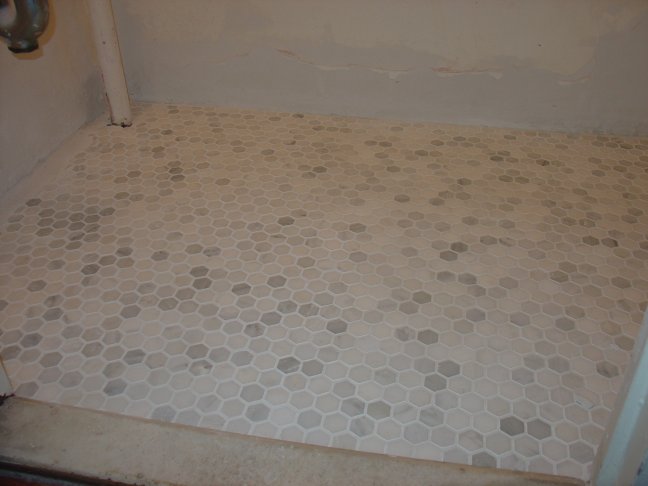
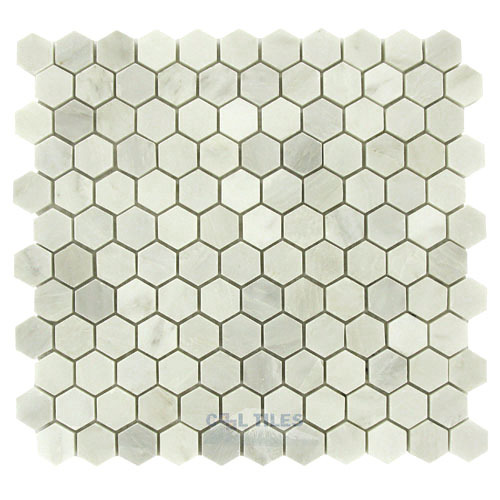
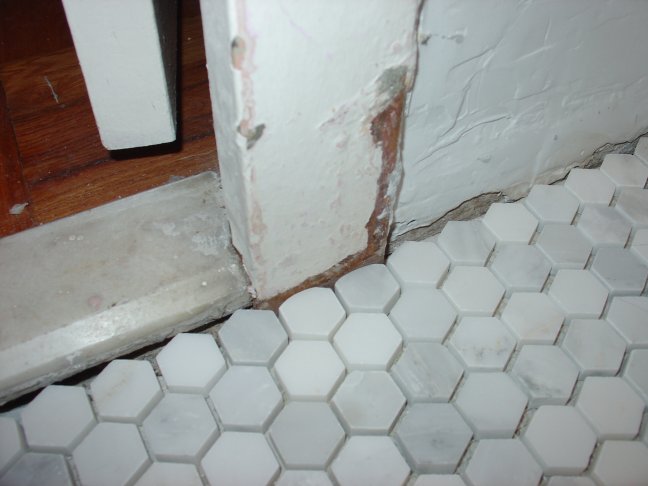
After a few days to cure, I tried to dry-fit the bathroom tiles. I chose a 1” white marble tile because I like the stone look and hoped the small tiles would enable me to avoid relying on a wet-saw to shape them. A few tight sections (such as at the door frame) couldn’t accept whole tiles without throwing the broader layout way off, but I found that some coarse sandpaper and some patience were enough to grind down the offending bits of tile. I took the inverse approach in a few spots when tiles hit the wall at an unforgiving angle (as long as trim would end up covering them): I gouged out sections of the wall to make room for the whole tiles rather than be forced to cut them. This is definitely not the tile-artisan’s method.
Once I was happy with the dry layout, I moved small sections out of the room in order to attack those areas with mortar. Things went OK for the first few 1’-square sections, but in the middle of the room the returning sections met up in a strange jagged line that sent me scrambling for some additional tiles. I called it a night eventually, and was pretty happy with the look.
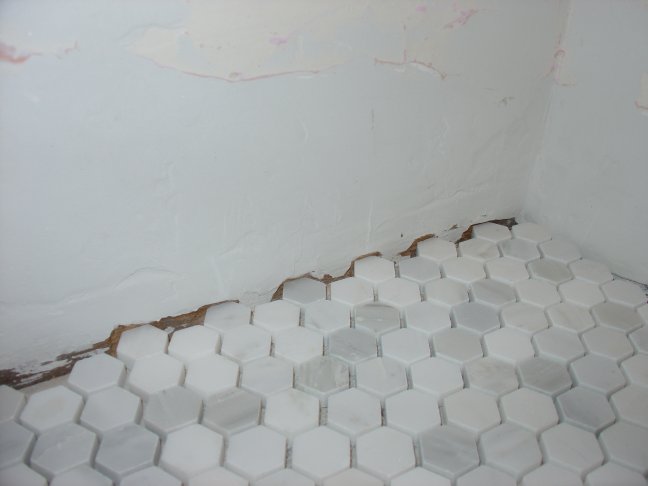
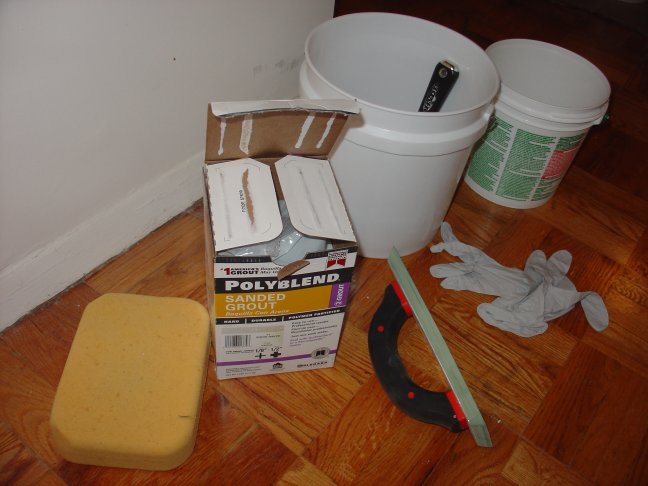
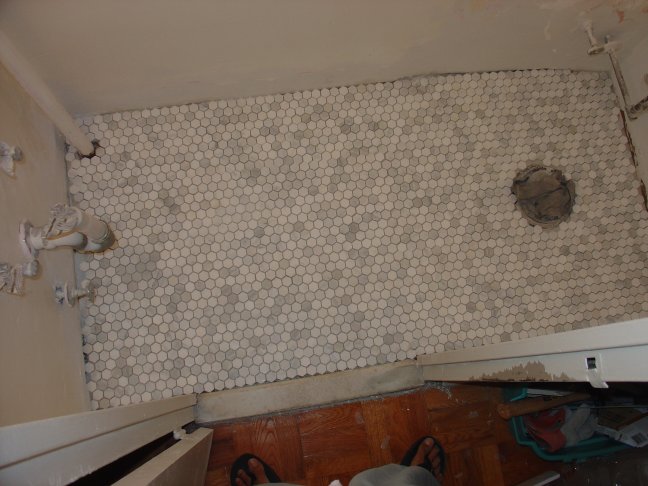
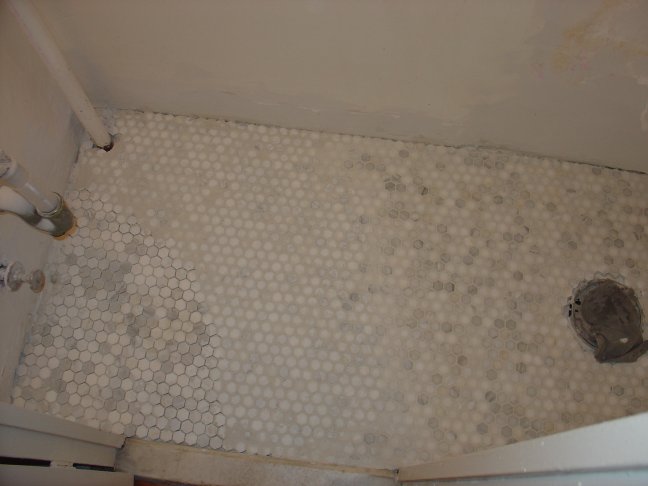
The following week I returned with a 7 lb. package of Polyblend’s “Snow White” sanded grout. Their instructions called for 1 pint of water to be added, but that left me with a damp, chunky, sand, so I added another 2/3 pint to get the “stiff frosting” consistency. Their instructions also claimed 1 package would be sufficient to cover more than the area I had, but (as you can tell in one photo) I ran out with a wide corner of the bathroom still un-grouted. I rectified that the following night and–now that the grout’s drying a bit–I can already see that the color will be great.
Next up for the half-bath: sealing the stone and grout.